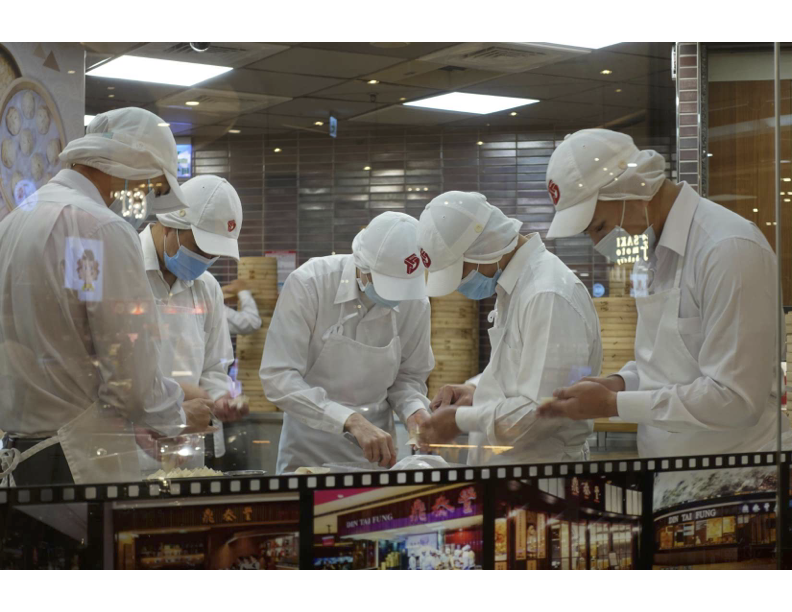
In the high-pressure world of commercial kitchens, speed and consistency are everything. Whether you're turning out tacos, sandwiches, pizzas, or plated dinners, a smooth system can mean the difference between chaos and control. One of the most effective layouts to keep things moving? The assembly line.
What Is an Assembly Line Kitchen Layout?
An assembly line layout organizes your kitchen stations in a linear flow. Each team member is responsible for a specific step in the prep or plating process. The ingredients move from one end of the line to the other, becoming a finished dish by the time they reach the pass.
Think of it like a culinary conveyor belt—only with chefs instead of robots.
Why It Works
1. Speed and Efficiency
By eliminating back-and-forth movement, the line keeps dishes moving forward. There's less walking, fewer delays, and a clear workflow that minimizes bottlenecks.
2. Consistency
Every dish passes through the same steps in the same order, handled by cooks focused on one task. That leads to better portion control, uniform presentation, and fewer mistakes.
3. Scalability
As demand increases, the line can flex. Add more hands to specific stations, or double the line for high-volume service. It’s plug-and-play compared to more freeform layouts.
Ideal Use Cases
The assembly line layout shines in fast-casual and quick-service restaurants, where high volume and fast turnaround are key. It’s perfect for operations with a streamlined menu—places like:
-
Pizzerias
-
Sandwich shops
-
Sushi bars
-
Salad and grain bowl spots
-
Burger joints
It’s less suited for fine dining or restaurants with varied, complex menus that require a lot of a la minute cooking.
Setting Up an Effective Line
Here’s a basic breakdown of how to build your kitchen assembly line:
1. Ingredient Prep Station
The first stop: prep. Everything is chopped, portioned, and ready to go. This keeps the line stocked and reduces interruptions.
2. Base Layer / Foundation Station
This is where rice, bread, dough, or other bases are added. Think tortillas for tacos or buns for burgers.
3. Protein & Hot Item Station
Next comes the cooked components—grilled chicken, roasted veggies, or seared patties. This station often has grills, fryers, or flattops nearby.
4. Cold Toppings & Garnishes
Fresh lettuce, sauces, cheese, or herbs go here. These don’t need heat and should be close to the service end.
5. Finishing & Plating Station
Final quality check. The dish is inspected, boxed or plated, and sent out.
Each handoff should be fast, intuitive, and spaced just right—too far and people waste time walking, too close and you’re elbowing each other.
Tips for Success
-
Design with flow in mind. Start with the order your dishes are built and match your line to that sequence.
-
Label and standardize. Use visual guides and clear portion tools so every crew member knows exactly what to do.
-
Prep smart. The line only works if it’s fully stocked. Train your prep team to anticipate needs.
-
Maintain the line. Clean as you go, replenish regularly, and check stations before every shift.
Final Thoughts
An assembly line layout isn’t just for car factories. It’s a proven, practical solution for kitchens that need to move fast without losing control. If your goal is consistency, speed, and a tightly run crew, building a line might be the smartest move you can make.

