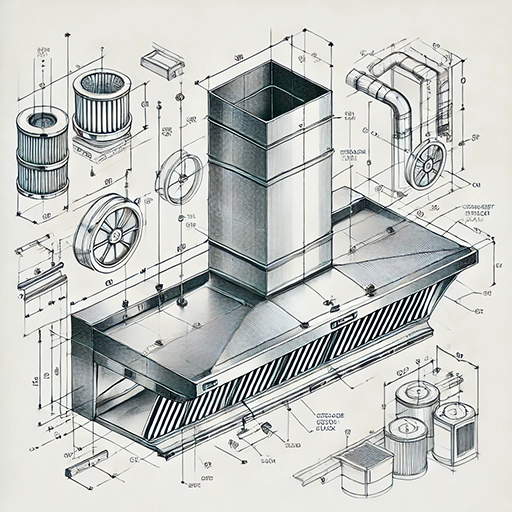
Creating a commercial kitchen ventilation hood is a complex process that requires precision, expertise, and a series of specialized manufacturing steps. From punching and bending to welding and final assembly, each stage plays a crucial role in producing a high-quality, durable product that ensures effective ventilation in commercial kitchens. Here’s a closer look at how these essential kitchen components are made.
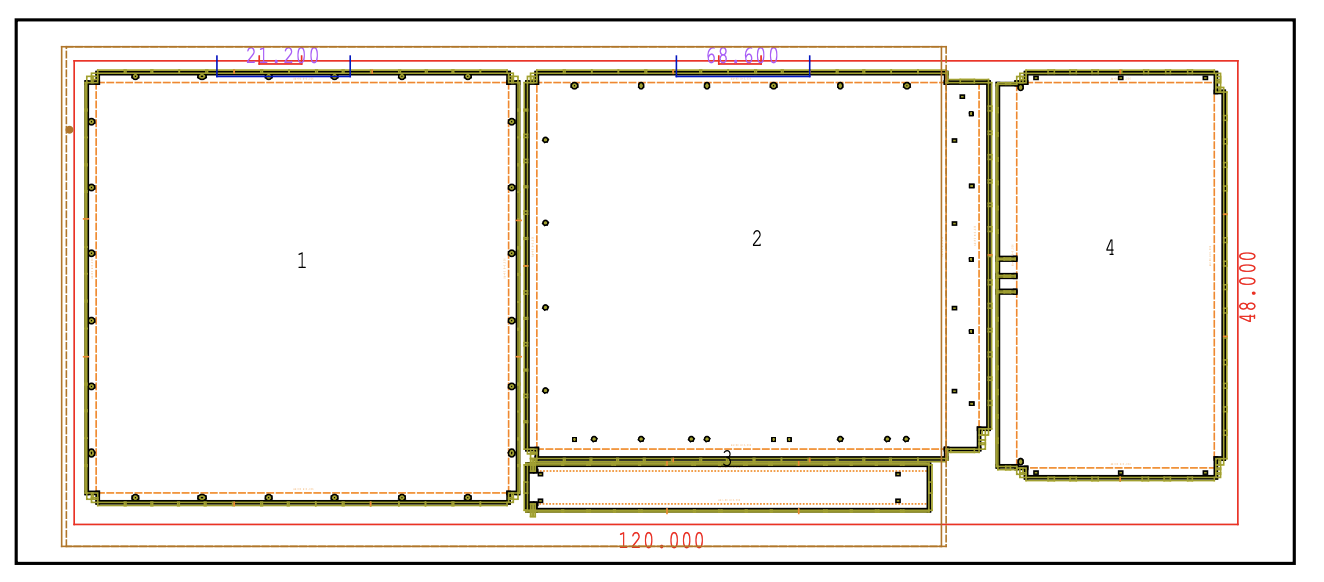
1. Punching: Shaping the Metal
The journey begins with large sheets of stainless steel or aluminum, chosen for their durability and resistance to corrosion. The first step in the manufacturing process is punching.
- Punching Process: Using a CNC (Computer Numerical Control) punch press, the metal sheets are punched to create precise holes and cutouts needed for later stages. This step ensures that all components, such as filter slots, duct connections, and mounting points, are accurately positioned. The CNC punch press is programmed to follow exact specifications, allowing for consistent and repeatable results.
2. Bending: Forming the Hood
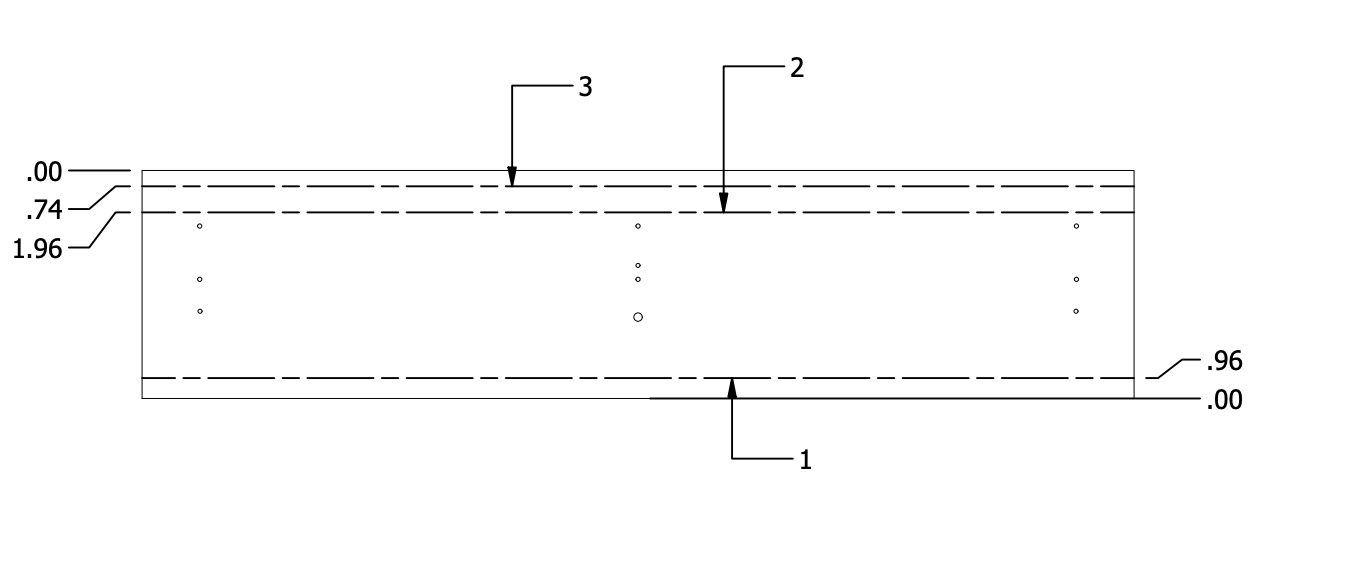
After punching, the metal sheets move on to the bending stage, where they begin to take the shape of the ventilation hood.
- Bending Process: Using a press brake machine, the metal sheets are bent along specific lines to form the sides, top, and bottom of the hood. This machine applies controlled force to bend the metal at precise angles, creating the hood’s basic structure. The accuracy of this step is critical, as it ensures that all parts fit together perfectly during assembly.
3. Welding: Assembling the Components
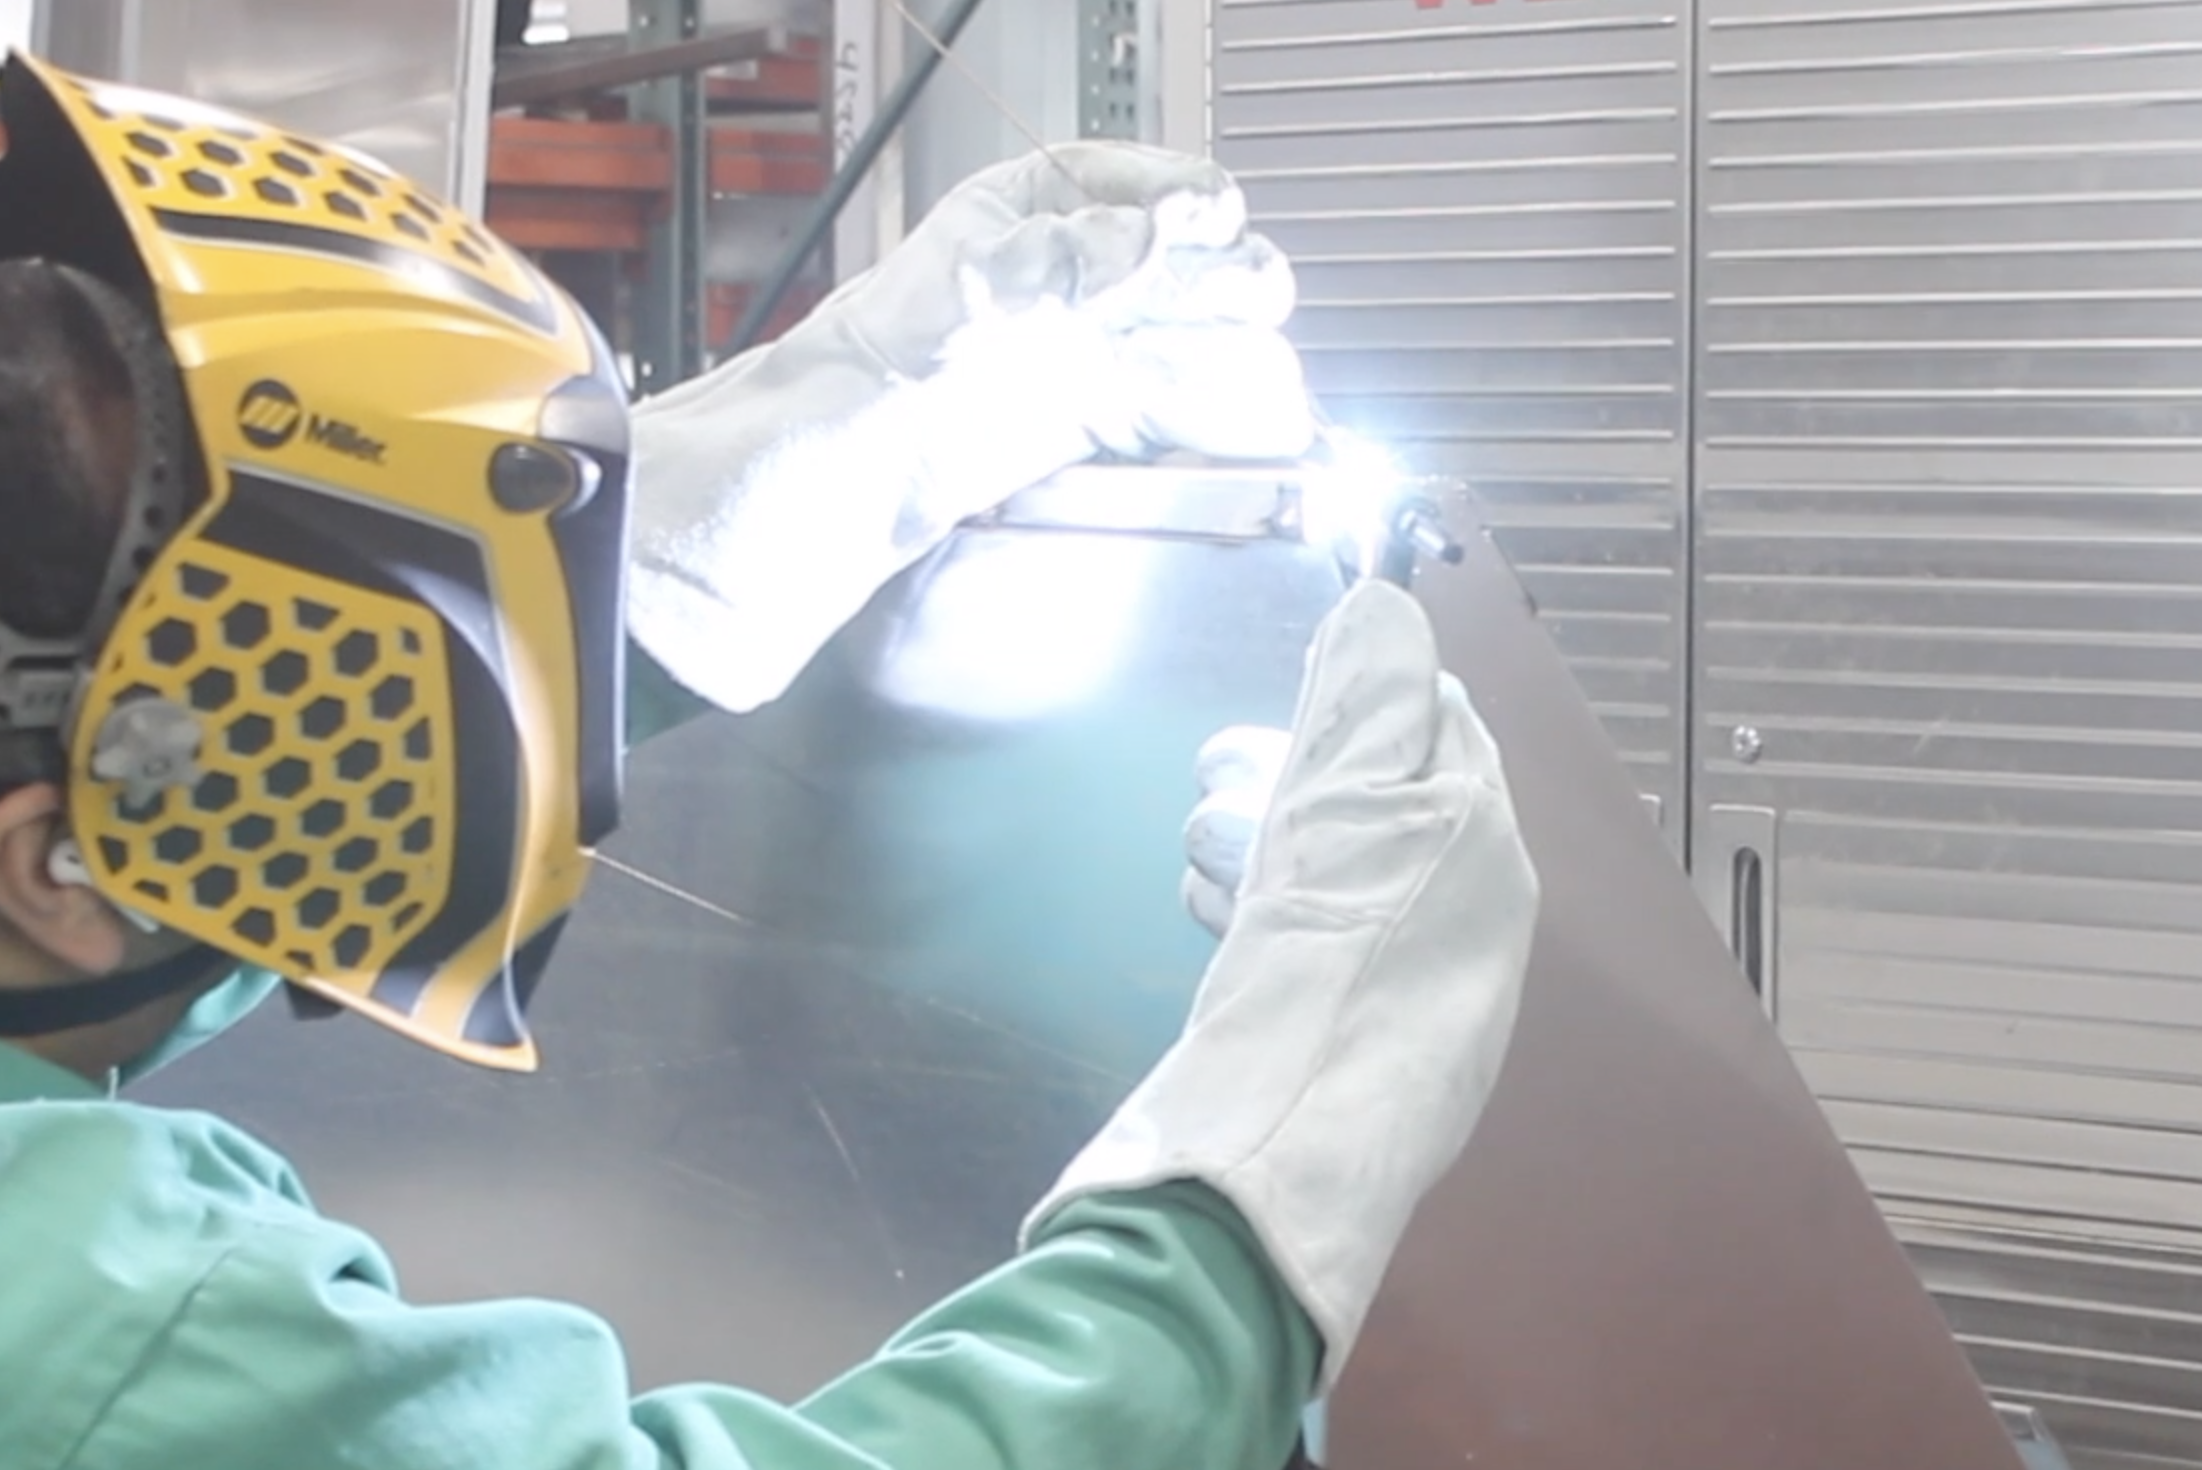
With the hood’s shape formed, the next step is welding, where the individual pieces are joined together to create a solid and robust structure.
- Welding Process: Skilled welders use TIG (Tungsten Inert Gas) or MIG (Metal Inert Gas) welding techniques to fuse the metal components together. The choice of welding method depends on the material and the specific design of the hood. Welders carefully align the pieces and apply the welds along the seams, ensuring a strong and seamless connection. The welding process requires precision to avoid warping or damaging the metal, resulting in a smooth and visually appealing finish.
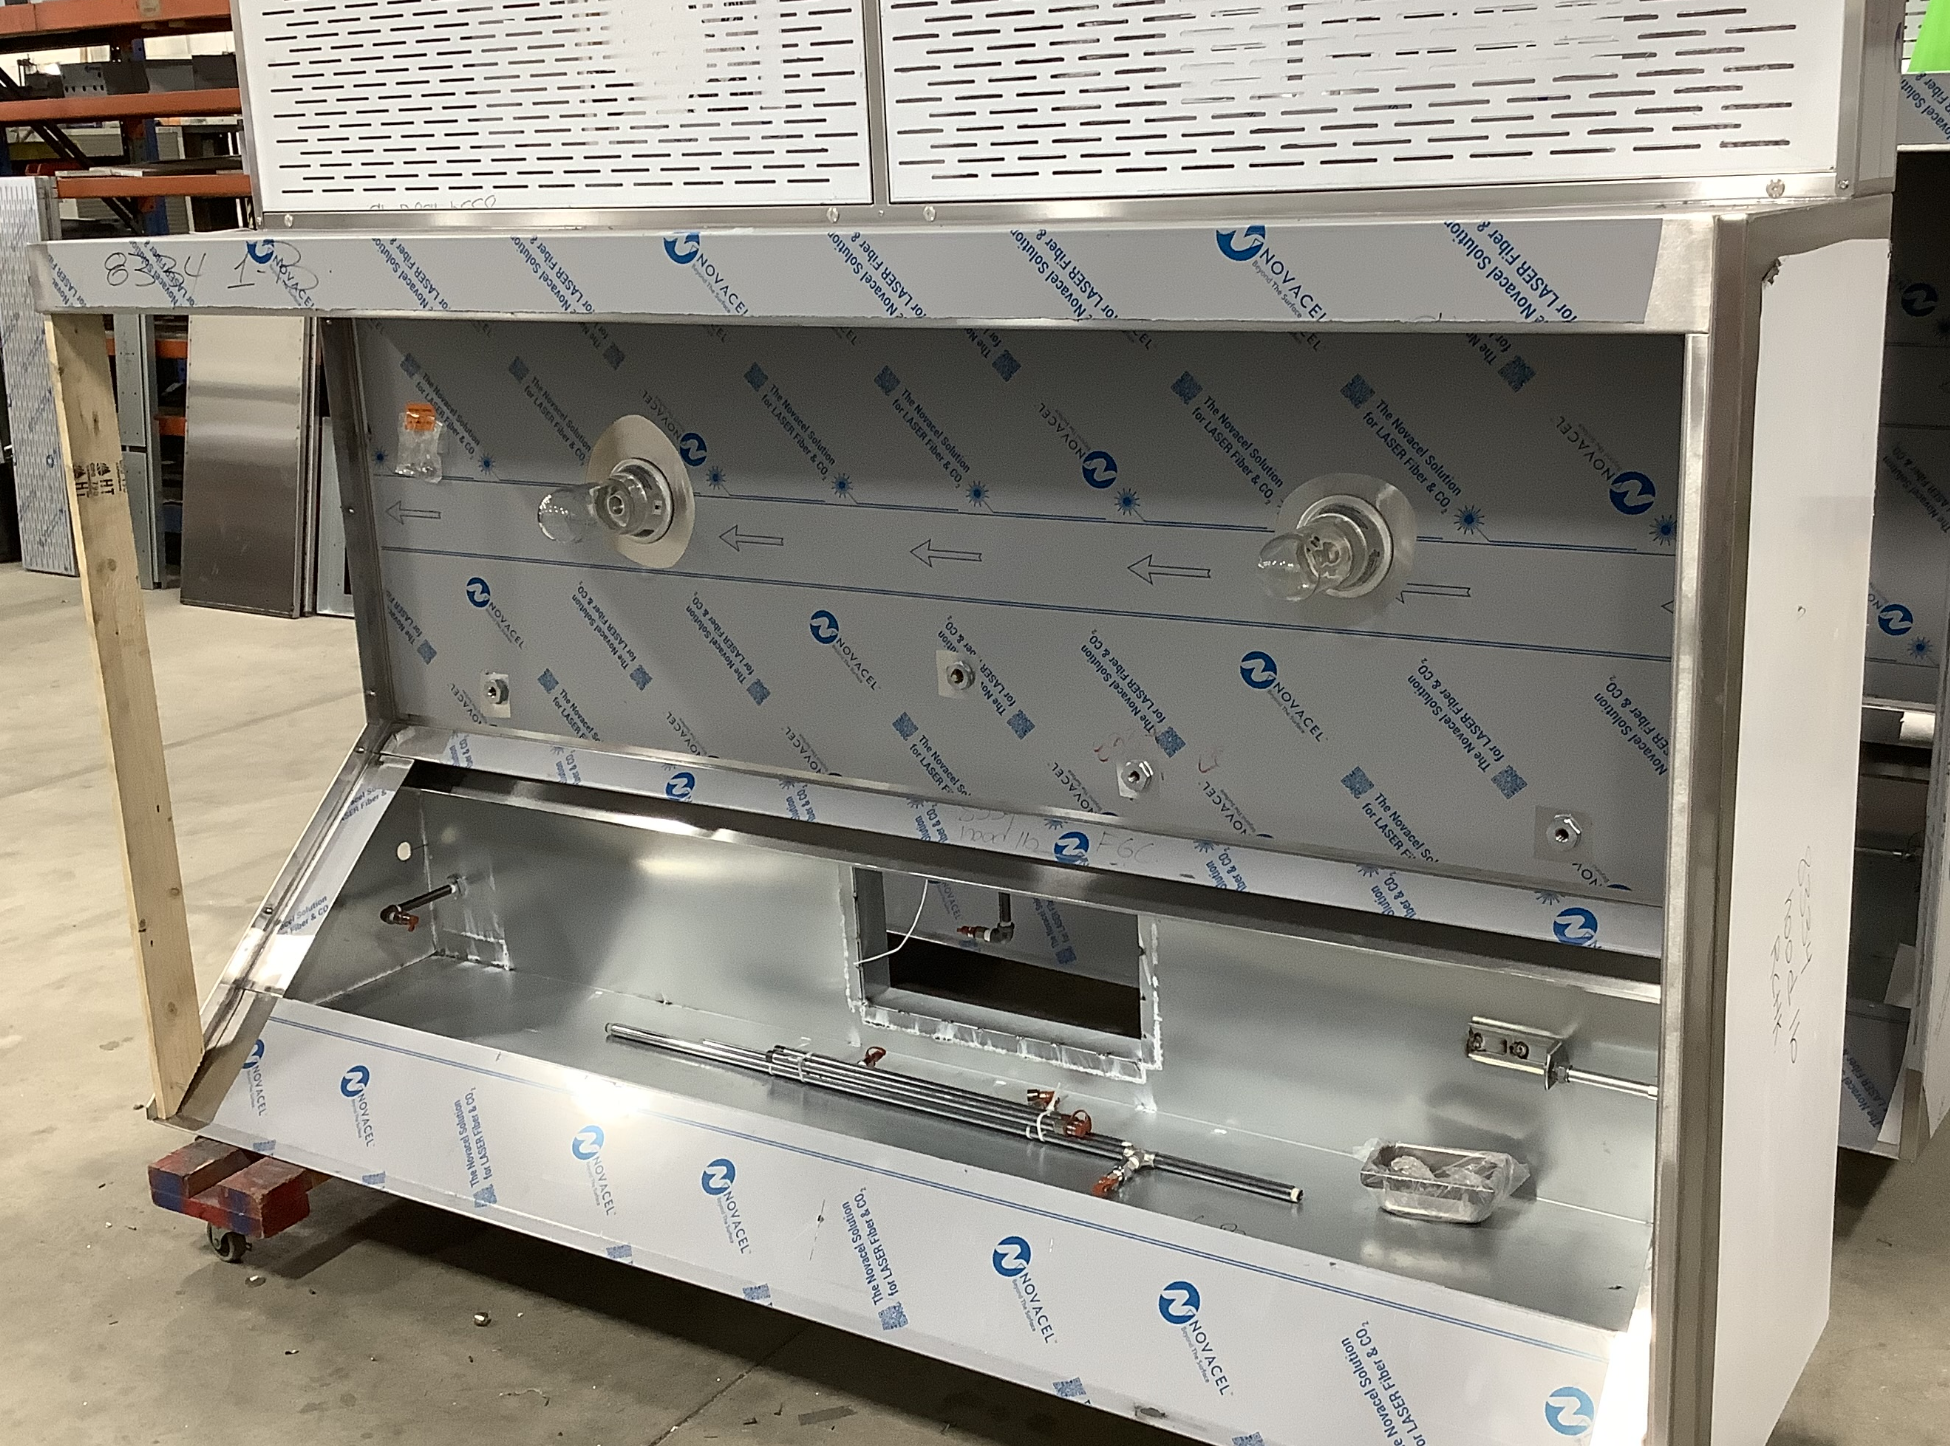
4. Final Assembly: Adding the Finishing Touches
Once the welding is complete, the hood is ready for the final assembly stage, where all additional components and finishing touches are added.
-
Final Assembly Process: In this stage, filters, lighting fixtures, control panels, and fan assemblies are installed into the hood. The hood is also fitted with any necessary duct-work connectors and mounting brackets. Each component is carefully secured and tested to ensure it meets the required specifications and performance standards.
-
Quality Control: Before leaving the factory, the completed hood undergoes rigorous quality control checks. These tests ensure that the hood operates effectively, meets safety standards, and is free from defects. The hood’s airflow capacity, noise levels, and filter efficiency are also tested to guarantee optimal performance in a commercial kitchen environment.
Conclusion
Creating a commercial kitchen ventilation hood is a meticulous process that combines advanced machinery with skilled craftsmanship. From punching and bending to welding and final assembly, each step is crucial in producing a high-quality hood that ensures safe and effective ventilation in busy commercial kitchens. The result is a durable, reliable product designed to withstand the rigors of a commercial kitchen while maintaining top-notch performance.
On the following you can see a short film of the Manufacturing Process

